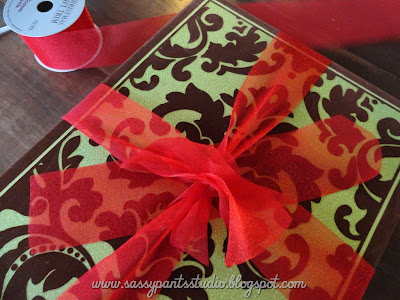
Christmas cards are mailed, class treats are baked, teacher gifts are made and presents are bought. So about all that's left to is the wrapping! We've got a Christmas party tonight, so most of it will have to wait until tomorrow, but i try to get everything wrapped before the kids get out for the holiday - it's just surpris-ier that way! {Smile}
So today I am going to let you in on another secret of the pros - how to make 'The Dillard's Bow." Yes ladies and gentlemen (fellas, even you can wrap like a pro if you follow along), most of the major department stores have a 'signature' wrapping style and they really are all different! And the Dillard's bow is my favorite! In fact, it was MY signature wrap until I switched to pom-poms two years ago!
So let's get started!
The biggest 'secret' to making this bow successfully is not to use any tape! Grab a handheld stapler to attach your ribbons instead, and it's worth a little bit extra to get a good one. BTW, the one you see pictured is NOT a good one! I recommend something bigger, but it's all I could find . . .
Stapling your cross ribbons allows you to slip things under them since they aren't taped down and the staple keeps them securely together while you're working! In this picture, you can see (kinda) both cross ribbons stapled and a short piece of ribbon slipped diagonally underneath. This will become the center of your bow.
Once you have formed your loops, you will want to pinch-pleat the body of the bow together so that the center is small. If your stapler is good (bigger than mine), then you can secure this pleat with a staple and make it even easier to work with.
Now place your pleated bow on top of the mess in the middle and begin to tie your center in place. Do not cinch it tight just yet . . . .
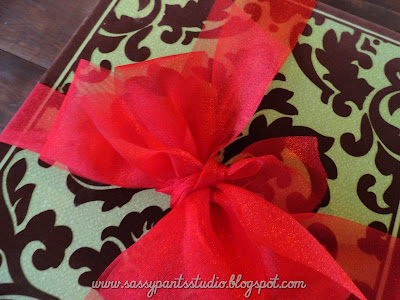
Once it is tied loosely, carefully pull the top of your center ribbon around to the bottom underneath and then pull the ends tight to secure the bow. This is the second 'secret' to the Dillard's Bow, because by inverting the top and bottom of the center ribbon, you move the looped section to the back of the ribbon, leaving a clean center on top - perfection!
Isn't it lovely?!
And wouldn't you feel extra special getting something like this?
I know I would!
Happy Wrapping Y'all!
Sharing this Sassy Secret @ Sunday Showcase, Mop It Up Mondays, Meet Me Monday, Made by You Monday, Debbie Doo's Newbie Party, What's In the Gunny Sack, Take-A-Look Tuesday, Tuesday Tutorial, Wow Us Wednesdays, Cowgirl Up, Whimsy Wednesdays, Pin It Wednesday, Show and Share, Overflowing with Creativity, Creative Me, Made U Look, It's a Hodgepodge Friday, Saturday Show & Tell


Oh my goodness. Thank you for this! I cant wait to try this out.
ReplyDeleteJustina @ http://justinawho.blogspot.com/