Once I had it pieced together like I wanted, they went together very easily! Good thing too, because I had MY heart set on embroidering the heart chair covers (grab the tutorial here), even though I knew the only one who would know the difference would be me! I can't help it!! Once I have a project in my mind a certain way - I've just got to find a way to do it or I will NOT be happy!!! Speed called me crazy, but I'm sure the word he was looking for was creative!!! Or maybe talented?! Anyhoo. . .
Envelope Chair Back Tutorial
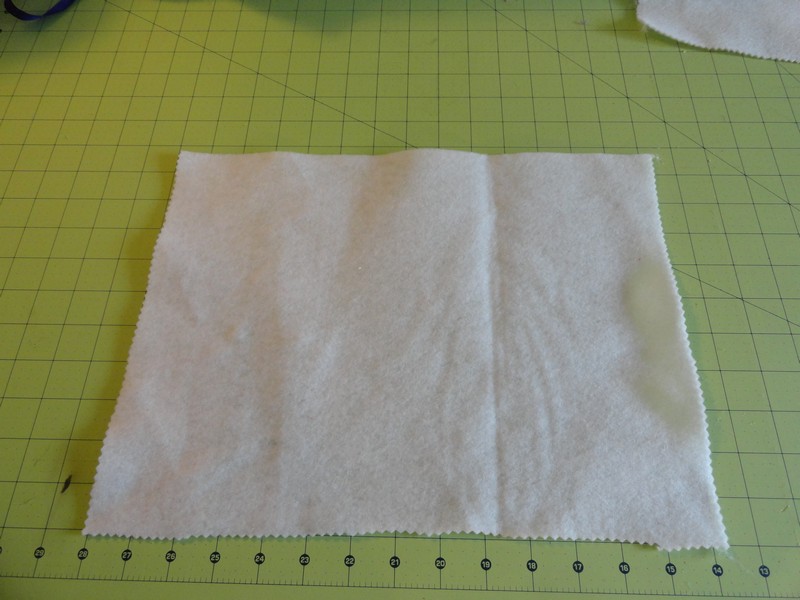
Step 1: Figure out the length and width of your chair back and cut a single piece of felt those dimensions.
Step 2: Cut another piece of felt using the first piece and measuring up half the length +1" from the center. Use a straight edge to connect the center point back to the top edges of your rectangle, forming the back and flap of the envelope.

Step 3: Pin the flap of the back to the front of the front rectangle and sew along the flap and across the bottom in your contrasting thread. I chose red :o)


Step 4: Cut a small heart out of a contrasting felt (Red here again for moi!) and pin over the point of the flap. Stitch around the heart to secure it to the envelope.

Step 5: Fold your opened envelope in half and pin along the sides - like sew!

Step 6: Stitch the two sides together, working from the bottom to the top and pulling back the envelope edge to conceal your stitch end. (Ignore the Perler Bead disaster you see behind my machine - that's a whole other story. I WILL figure out who gave those to Sheep for her birthday and thank them - ha!)


Step 7: Ta-Da! or should I say Ta-Done!! Sew simple!! Sew quick!! If your child's party isn't until Tuesday - you've got plenty of time! Or try them on your own chairs - they won't cover the back completely, but they will still look sweet!

 |
| Don't these look sweet in the classroom?! The kids LOVED them!! |
 |
| HAD to add the embroidery - just had to!!!! |


Excited to find you via the Linky Blog Hop! I'm a new follower via GFC! Hope you can come visit mine: http://www.eccentricleopard.com/ - Tera
ReplyDeleteThanks so much! Will do!
DeleteThanks so much! They were really fun to make!
ReplyDeleteStopping by to let you know I featured these for Valentines Day!
ReplyDeleteKim@madeinaday
http:;//madeinaday.com
OMG!! I am soooo flattered! I craft (almost compulsively) for me, but being featured by someone else just makes my day!! Thanks for following and I am heading your way now!!
Delete